Capturing the June 2021 Partial Solar Eclipse (how and with what equipment I used)
June 10th 2021 seen the first of 2 solar eclipses of 2021 here on earth, this one on the 10th of June was an ‘Annular Solar Eclipse’ meaning that it was not a total eclipse due to the moons apparent diameter to the sun, this meant it did not fully eclipse the sun in the same way it would if the moon was closer to earth creating a total eclipse, (when the moon is close to perigee it covers more of the sun as it passes in front of it). With this month’s eclipse (Greenland, Northern Canada and Russia got the most coverage). The second of the 2 eclipses of 2021 will be on December 4th 2021 with totality being visible from Antarctica with a partial solar eclipse being visible in South Africa and South Atlantic. So unfortunately for us here in the Northern hemisphere there will be nothing to see. And unfortunately, the next Total Solar Eclipse here in the UK will not be until 2090… boooo! lol
Anyway! this time round I did manage to capture something of the eclipse for all I came close to getting nothing at all. I had planned to have the camera and tripod set up and ready for 10:00 that morning but was painting in the house and got distracted from the time, but at 10 I noticed the time and stuck my head out the back garden just to see how things looked, and it looked not all too promising with a lot of cloud in the sky over towards where the sun was but I thought, why not just set up anyway and I might get lucky.
The first test shot just using the mobile phone I could just see the edge of the moon passing in front of the sun so frantically set up the star tracker and camera on the tripod, but by this time the cloud had completely moved in front of the sun obscuring my view, thinking I was going to miss it, but as ever, 'expecting the worst but hoping for the best' I continued to set up and see what happened.
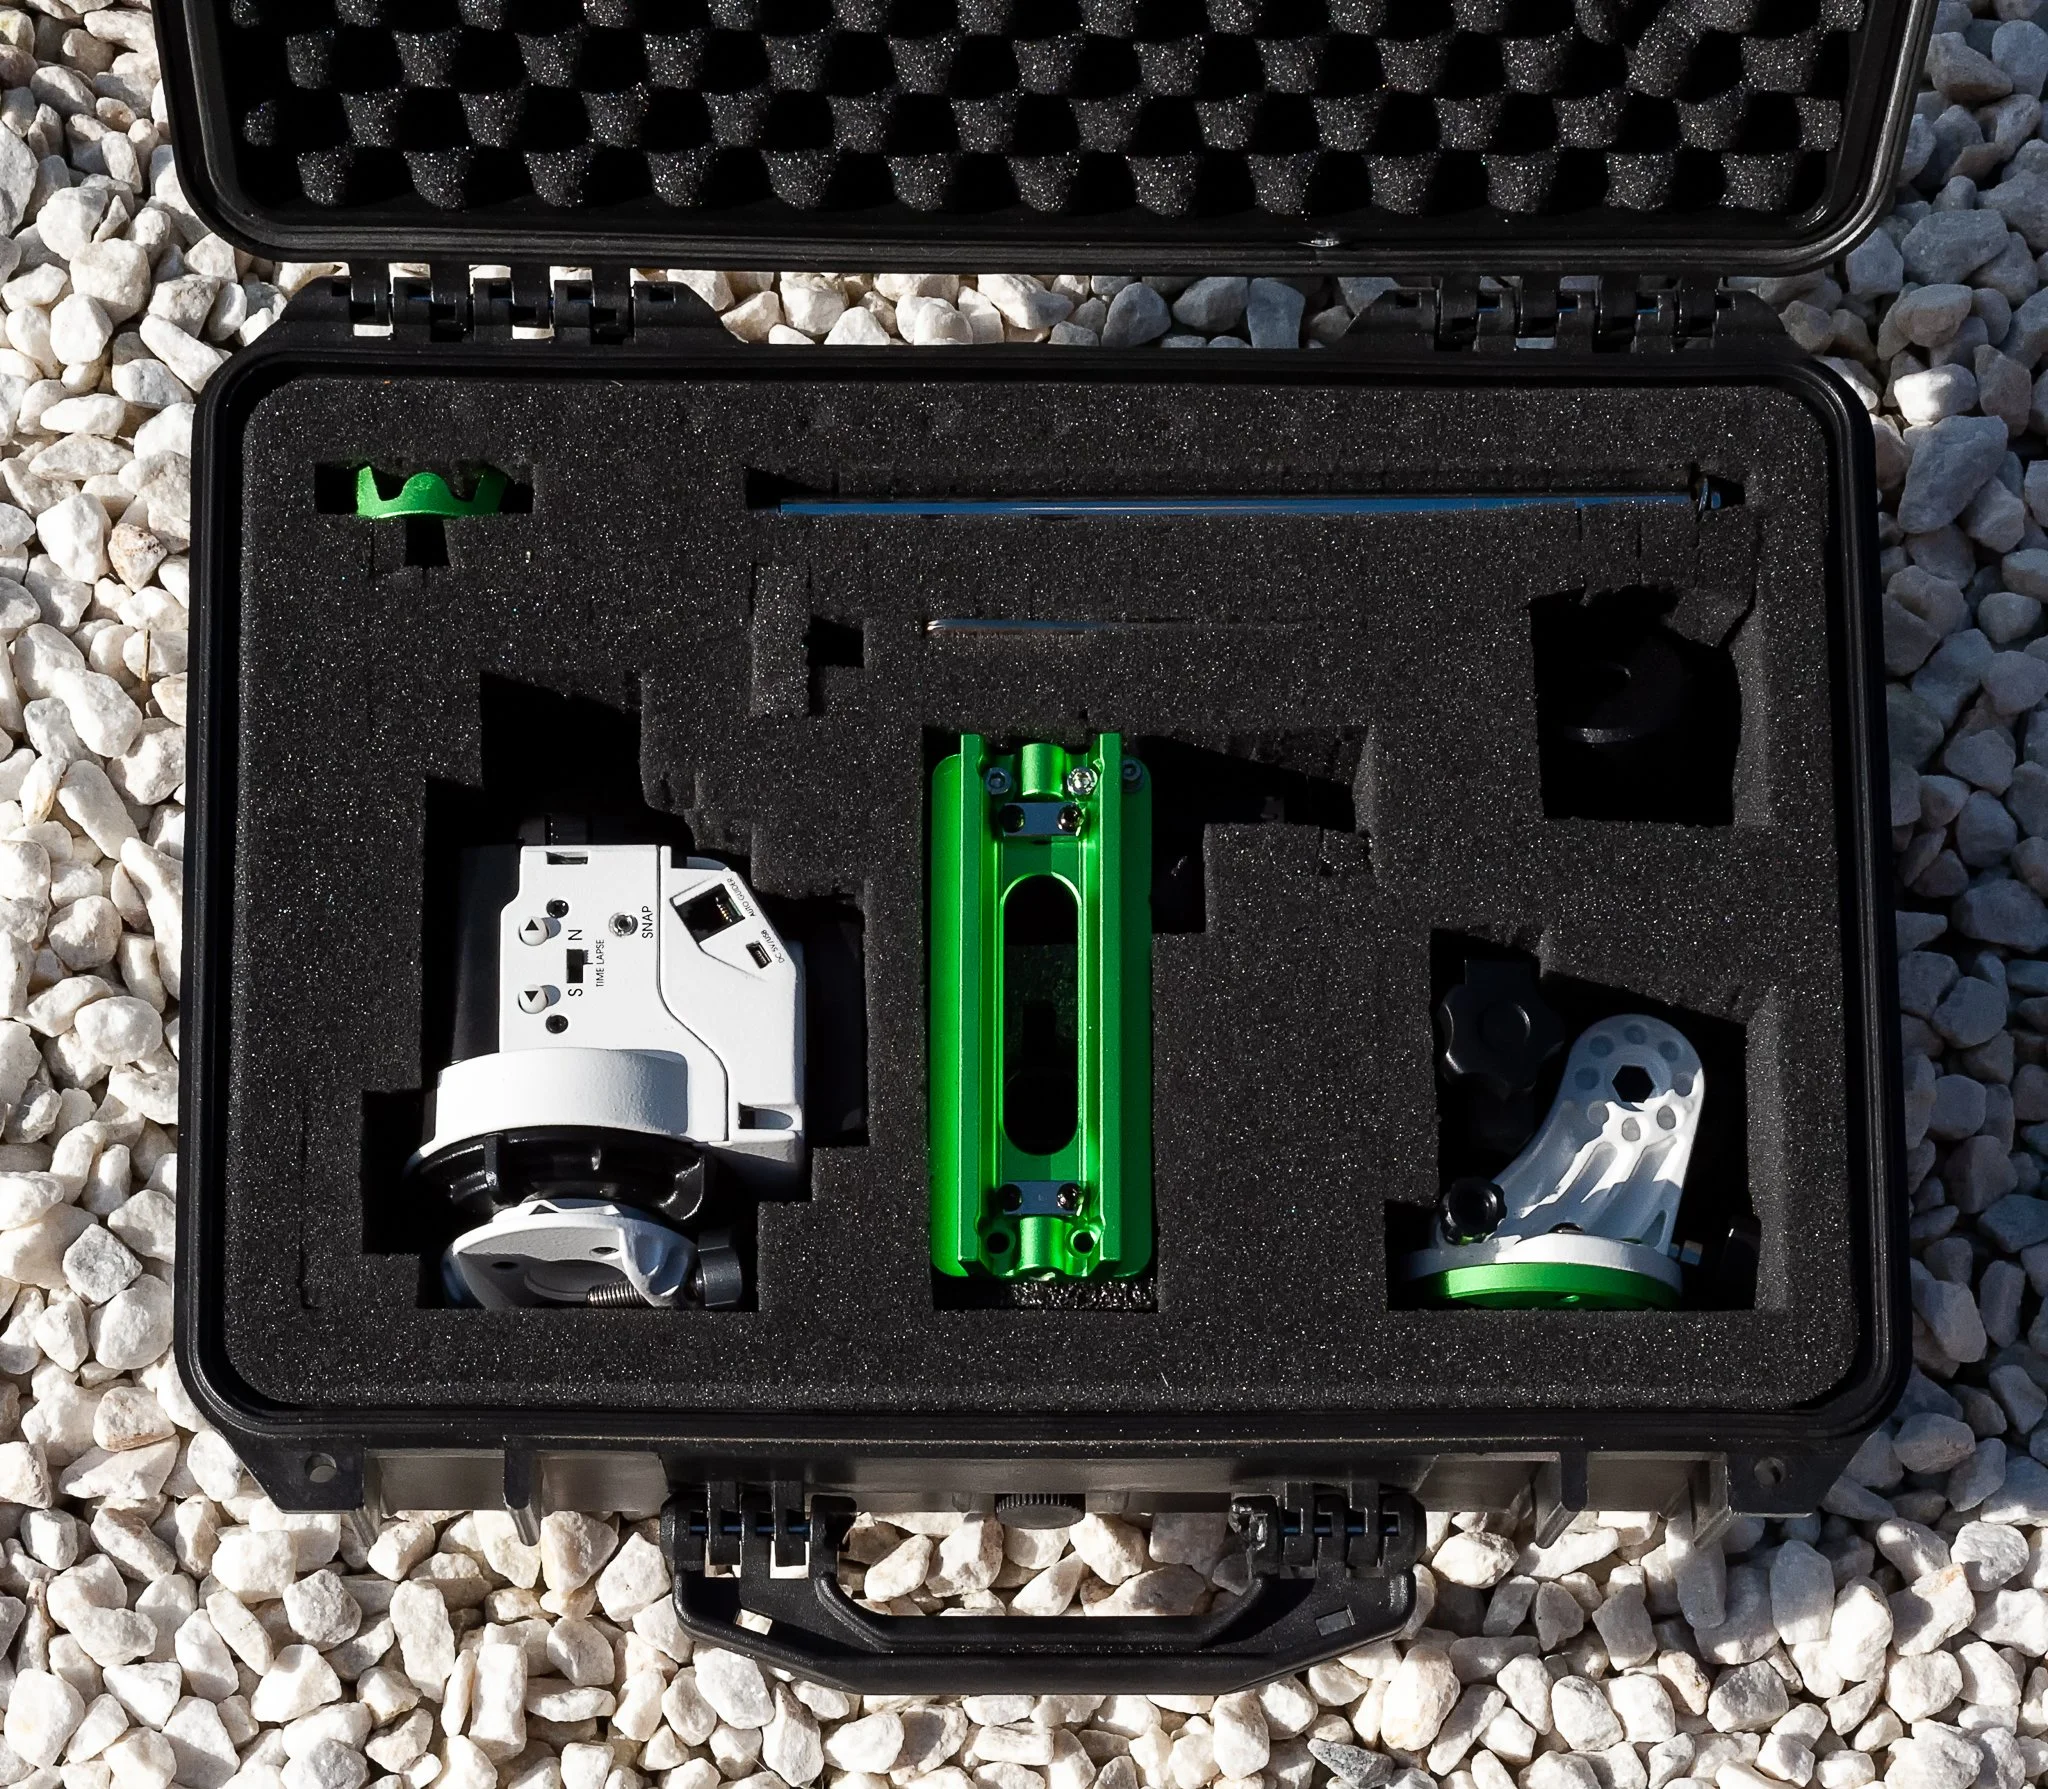
My set up for this was not ideal really, not having much in the way of astro specific equipment I just used my everyday photography equipment to capture the eclipse, the only really astro specific piece of equipment I used was my Sky Watcher - Star Adventurer Pro star tracker.
Sky Watcher - Star Adventurer Pro star tracker (Trifibre Case bought separately)
But other than that, everything else used was just everyday photography equipment, no telescopes or large focal length lenses, no sun filters, and no modified cameras.
Once I had the tracker set up on the tripod the first thing I must do is find the north star to polar align the tracker so that it can track the sun accurately… But!!!... It’s daytime!? So, the standard method of polar aligning the tracker with the polar scope aligned with Polaris is not possible during the day, but thankfully I had an app on my phone that helps with daytime polar alignment. The app for anyone interested is called ‘Polar Alignment Pro’ and it just helps me to find the location of Polaris during the day (not quite as accurate as doing it by eye at night but accurate enough that the tracker could keep up with the sun using a 300mm focal length lens with no issues)
Polar Alignment Pro mobile phone app.
All you simply do is place the phone flush with the battery compartment of the Star adventurer star tracker and adjust the tracker till you find north, then tilt the RA axis until you find the axis that corresponds to your current latitude and that should be close enough in the ball park for tracking the sun or the moon depending on which setting you use on the star tracker.
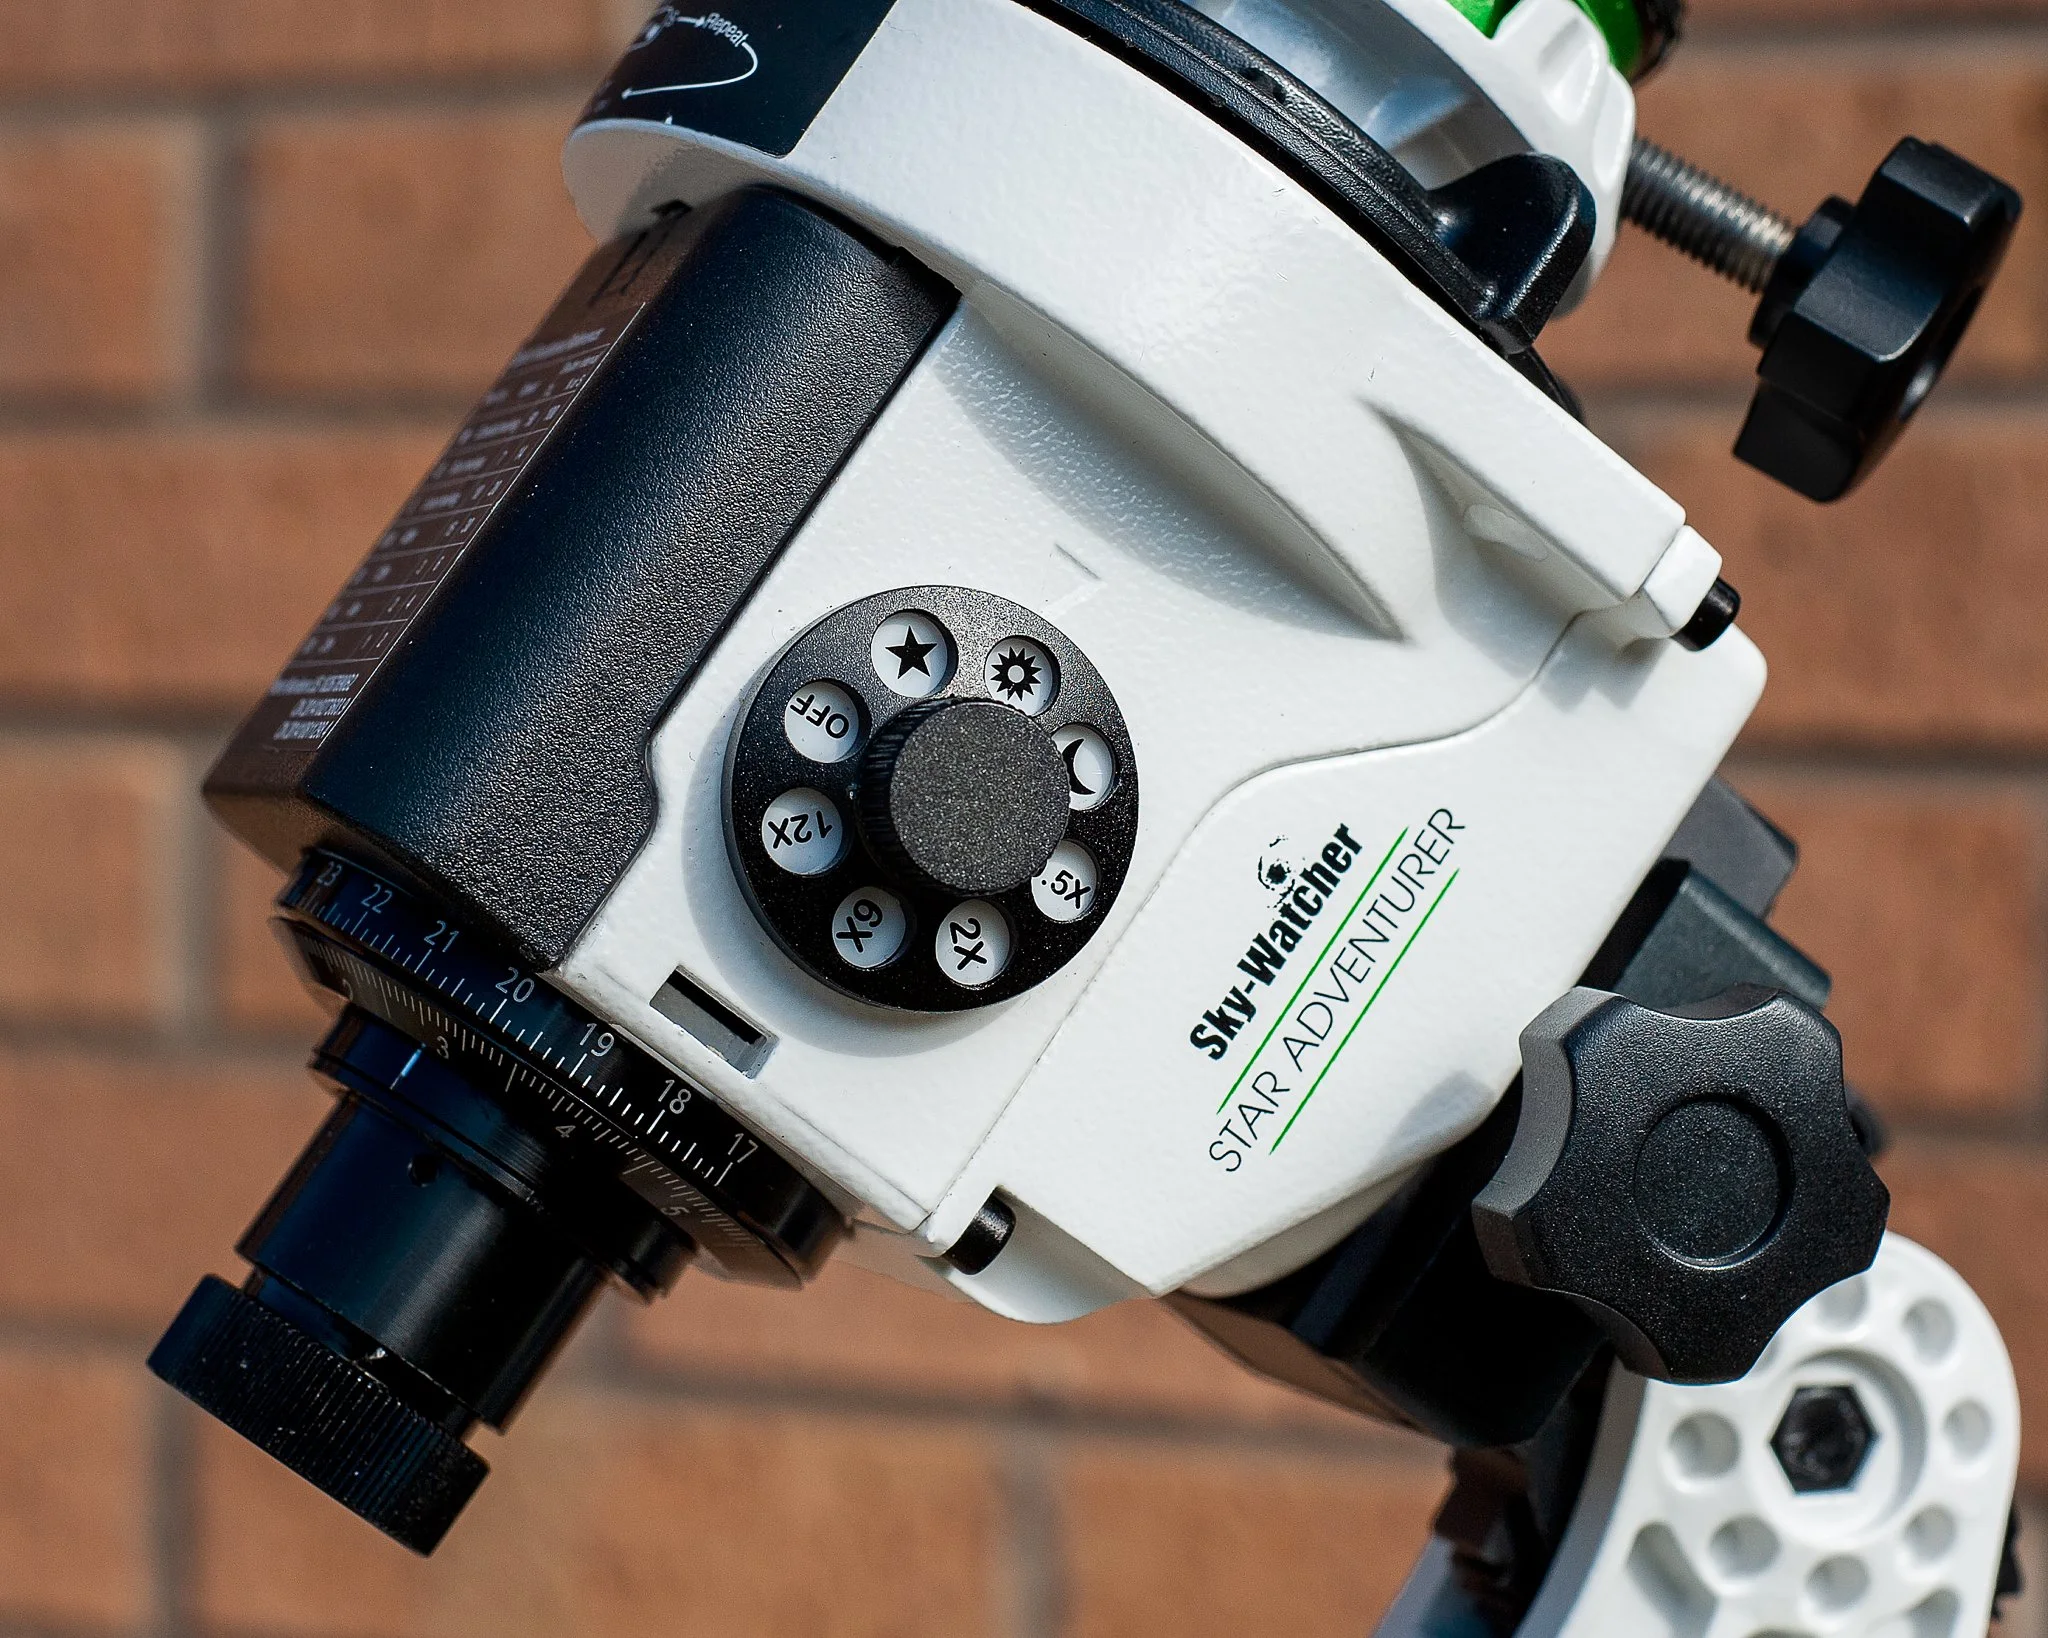
As you can see from the photo below, I had my tracker set to follow the Sun, (although tracking the moon would also work with an eclipse but might work better if it was a clear sky)
Sky Watcher – Star Adventurer Pro tracker set to track the sun. As you can see from the dial you have different tracking speeds and options, wither you want to track the sun, moon, stars, or differing speeds for different time-lapse set ups.
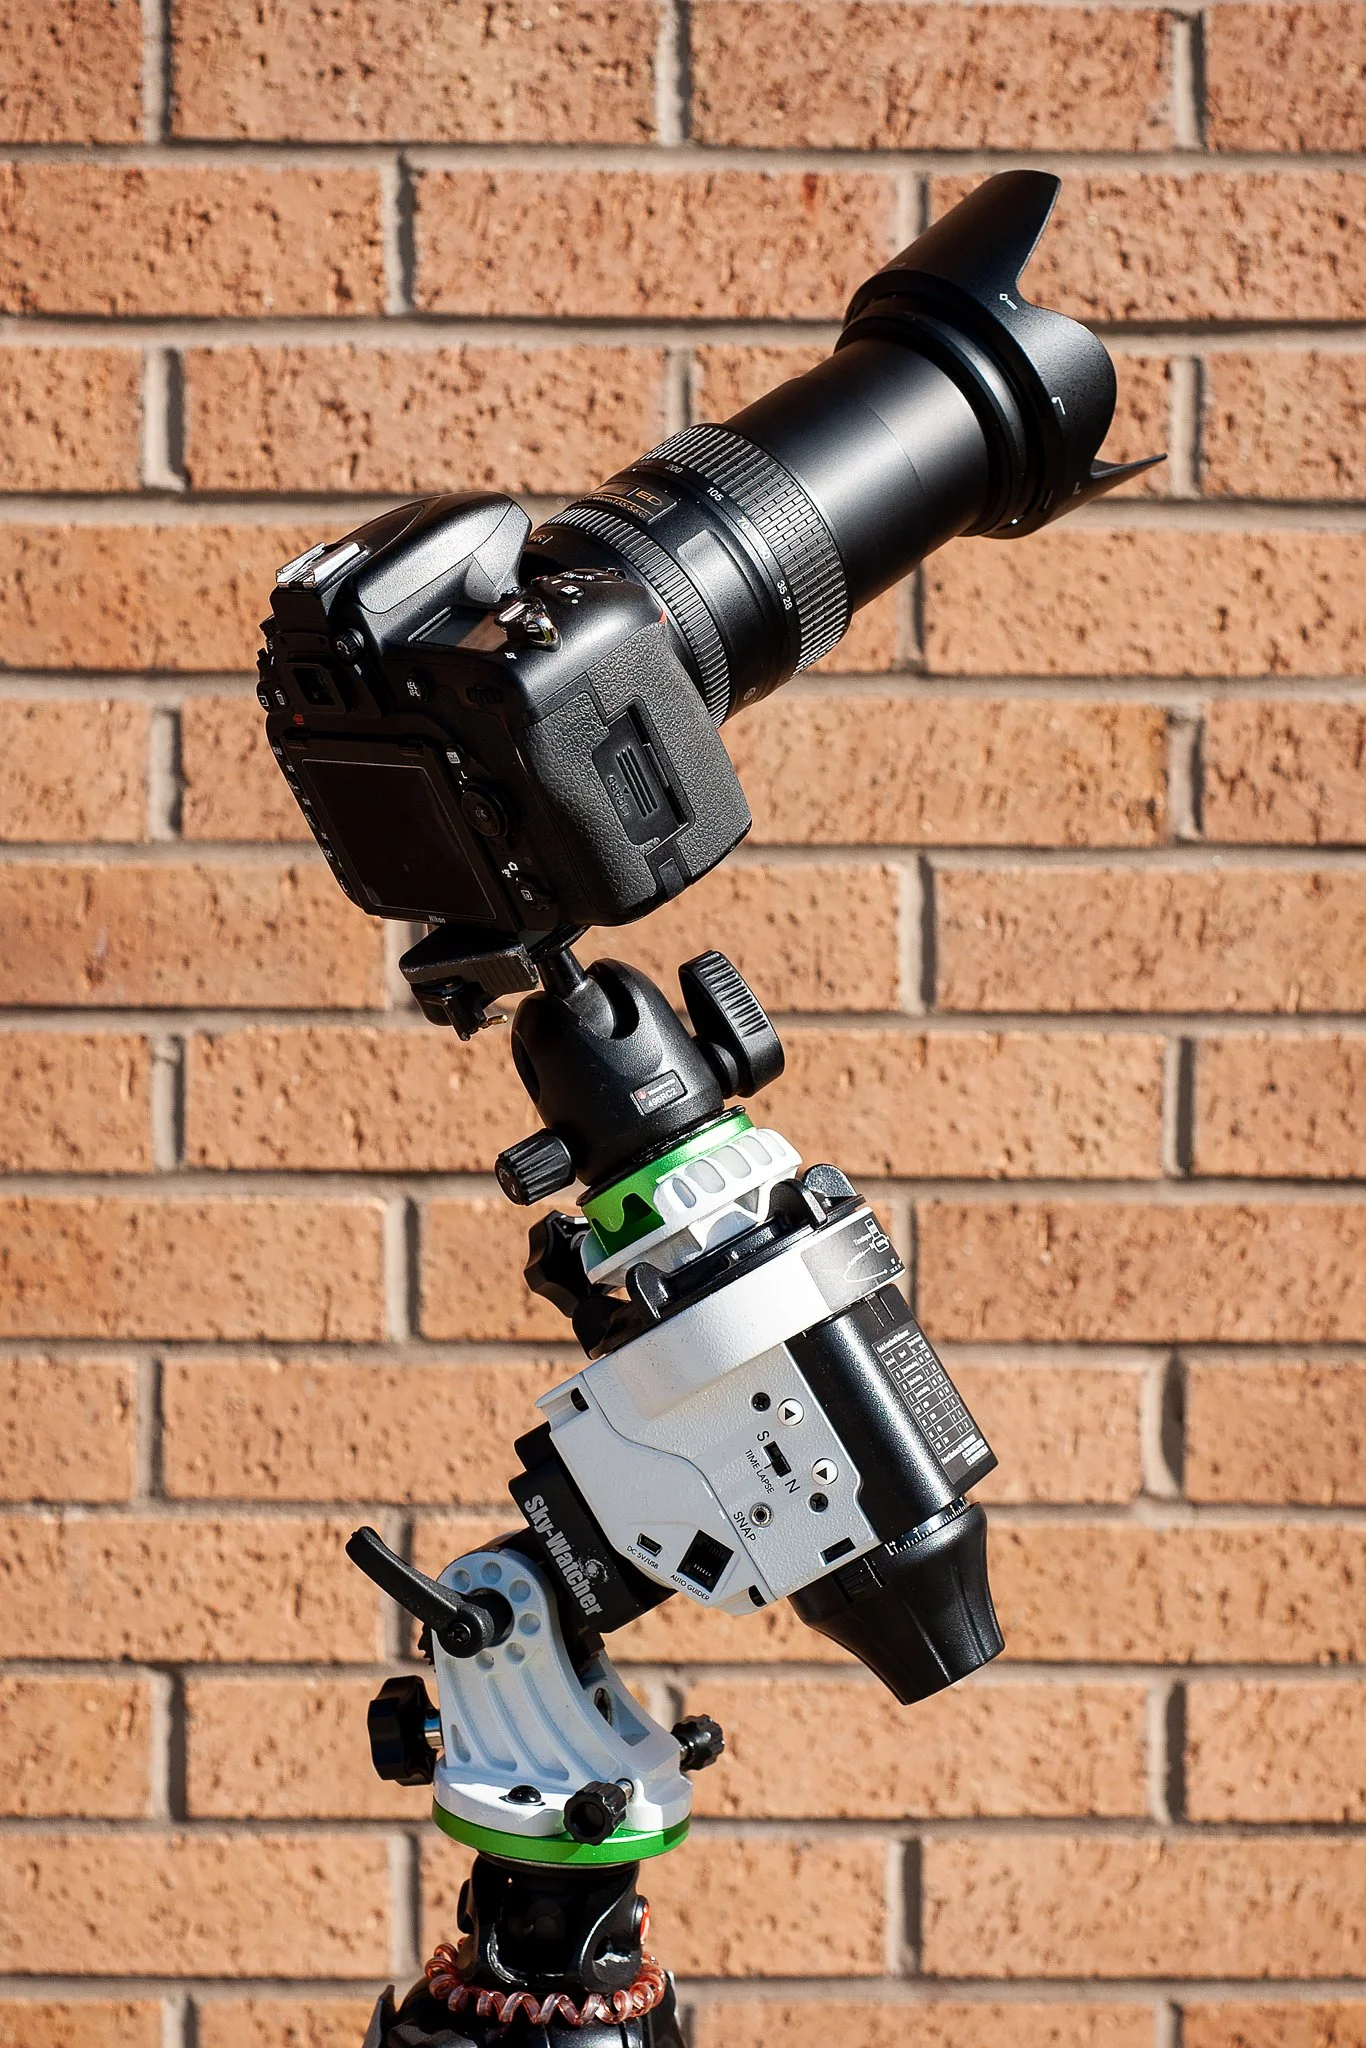
Once you have your tracker mounted, polar aligned and switched on it’s just a case of turning your camera on a ball head towards the sun or in my case where I thought the sun was just behind the clouds and wait till the sun appears again and get your first test shot in.
Depending on the lens that you use or how far extended it is you might want to consider using the counterweight attachment that comes with the Star adventurer Pro kit. This lens was not that heavy at the front end, so I didn’t have to set that up on this occasion.
So that was me all ready and set up (finally) to try and take some shots of the June 10th 2021 Partial Solar eclipse, all I had to do is wait and hope the sun appeared from behind the clouds to start taking some shots. So, let’s go through my camera set up for this.
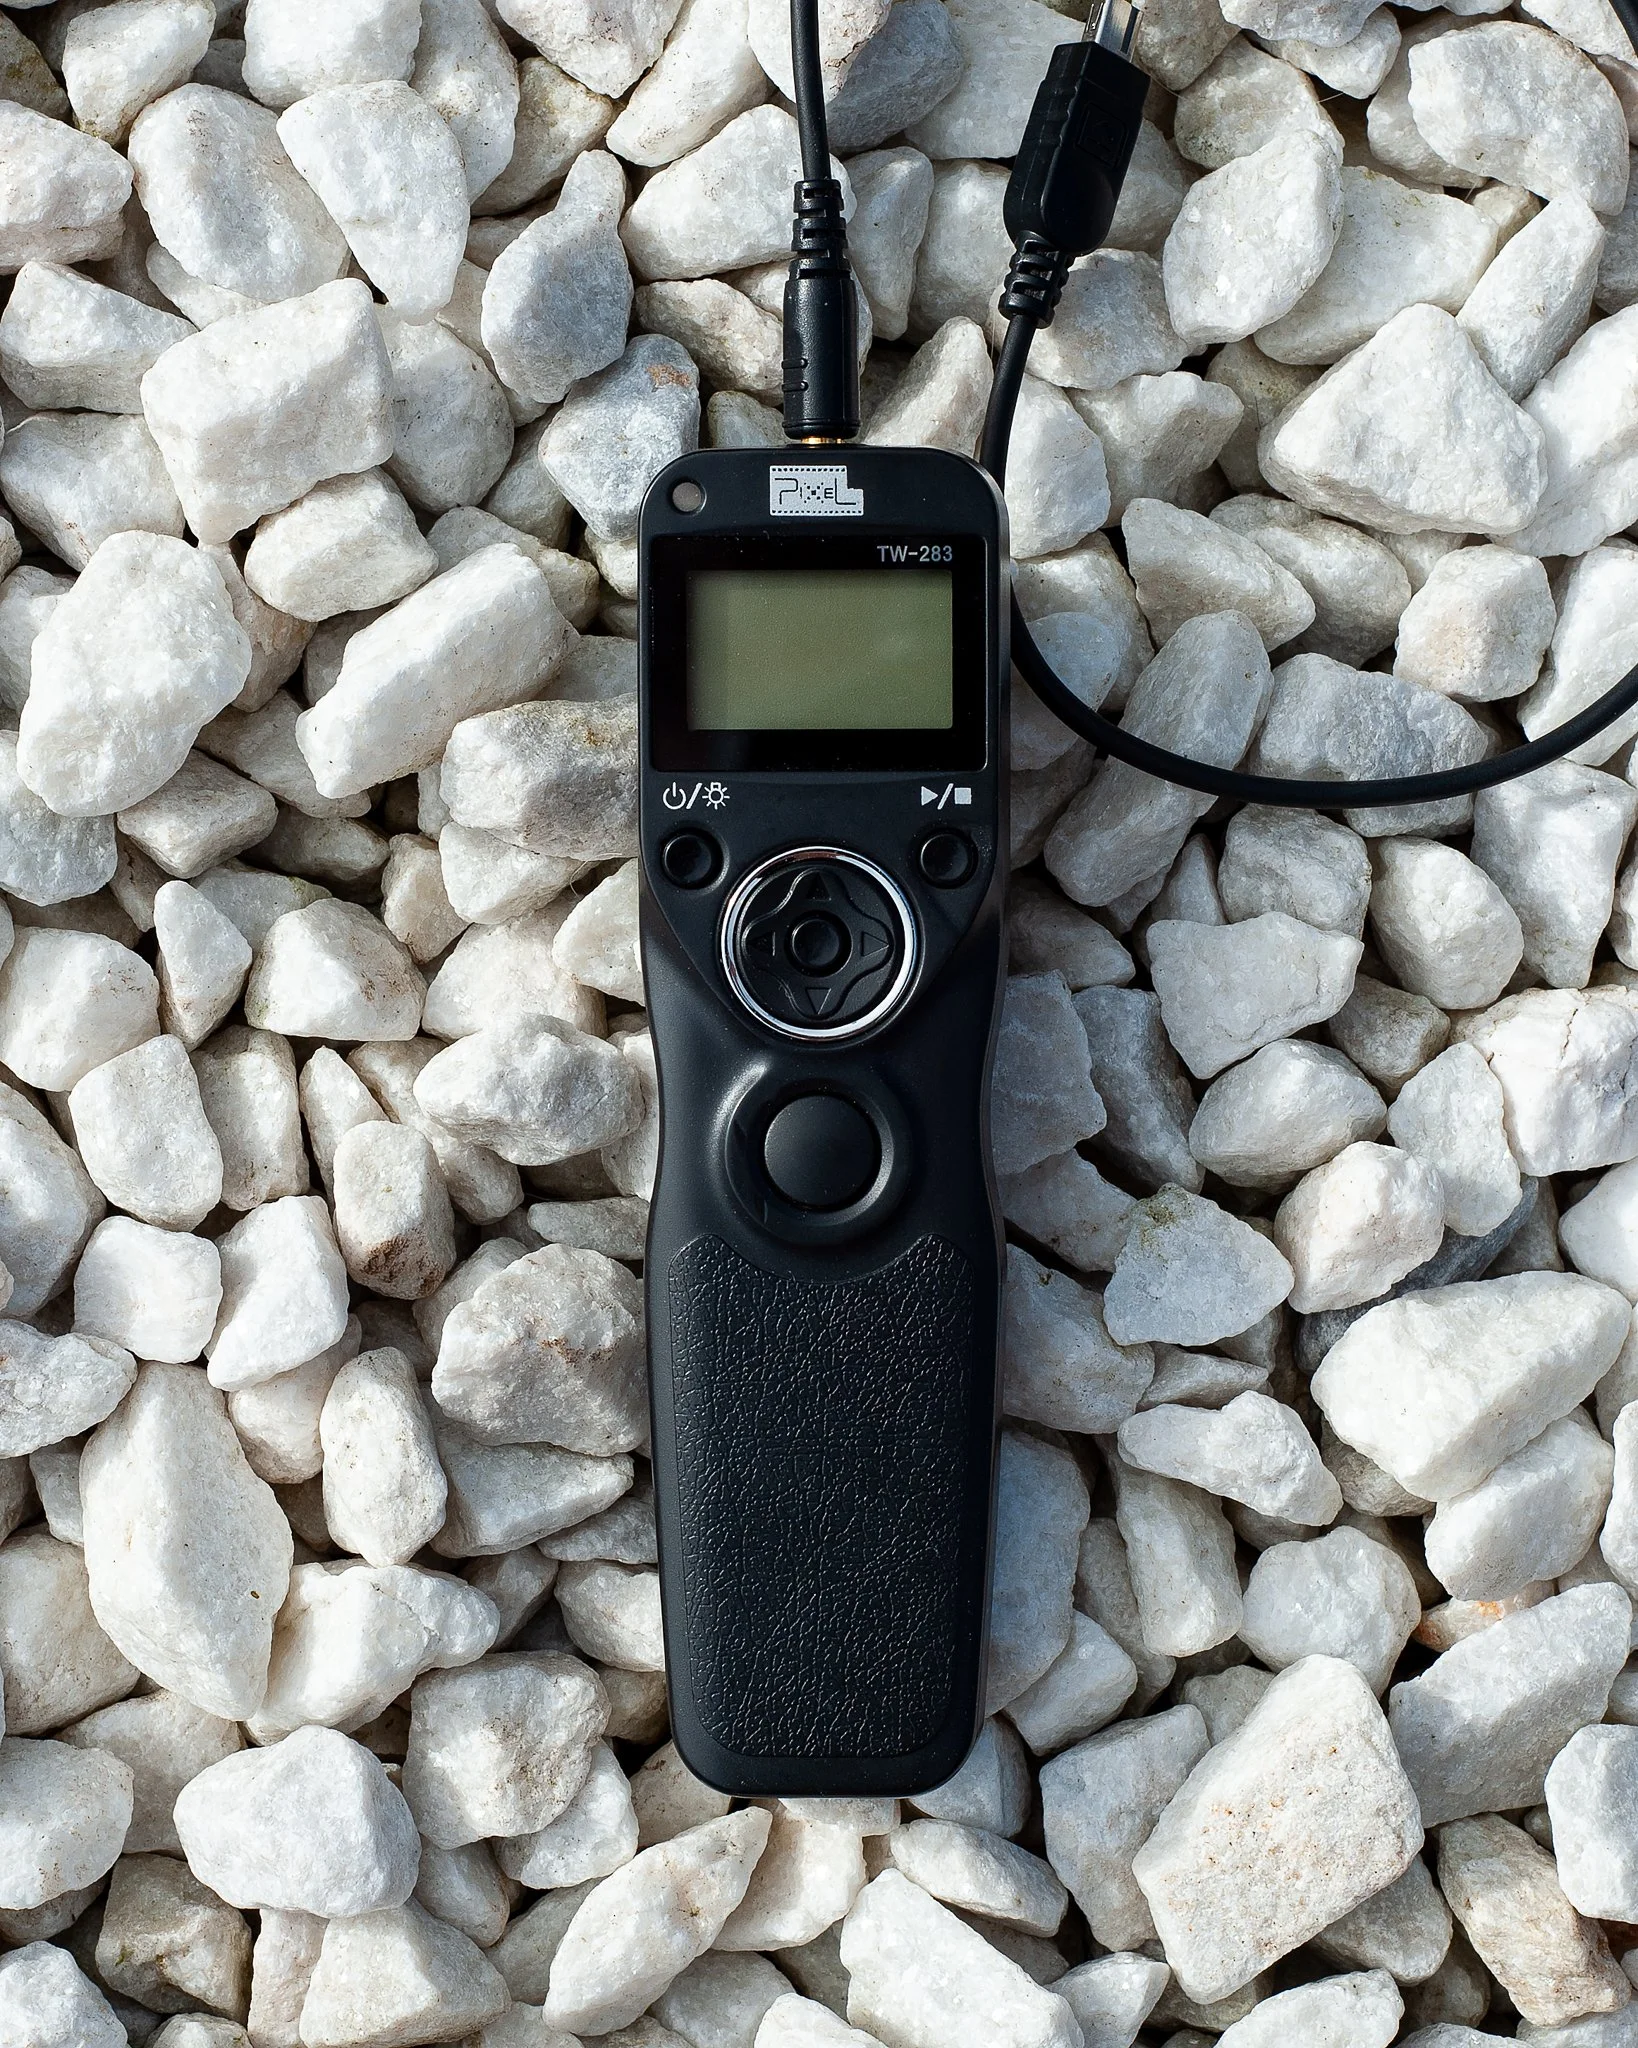
To make life so much easier getting the shot and not running the risk of nudging the tripod and losing polar alignment or hitting the lens and losing focus quite as much, I plugged in a remote shutter cable. This meant I could stand next to the camera and just fire off shots if or whenever the sun showed from behind the clouds without ever having to go near the camera or tripod. Any shutter release or phone shutter release app is good for this, I usually use a Miops smart trigger via the Bluetooth on my phone for this but this time I used the Pixel tw-283 wired/wireless release with the cable just for the sake of reliability.
Pixel tw-283 remote shutter release
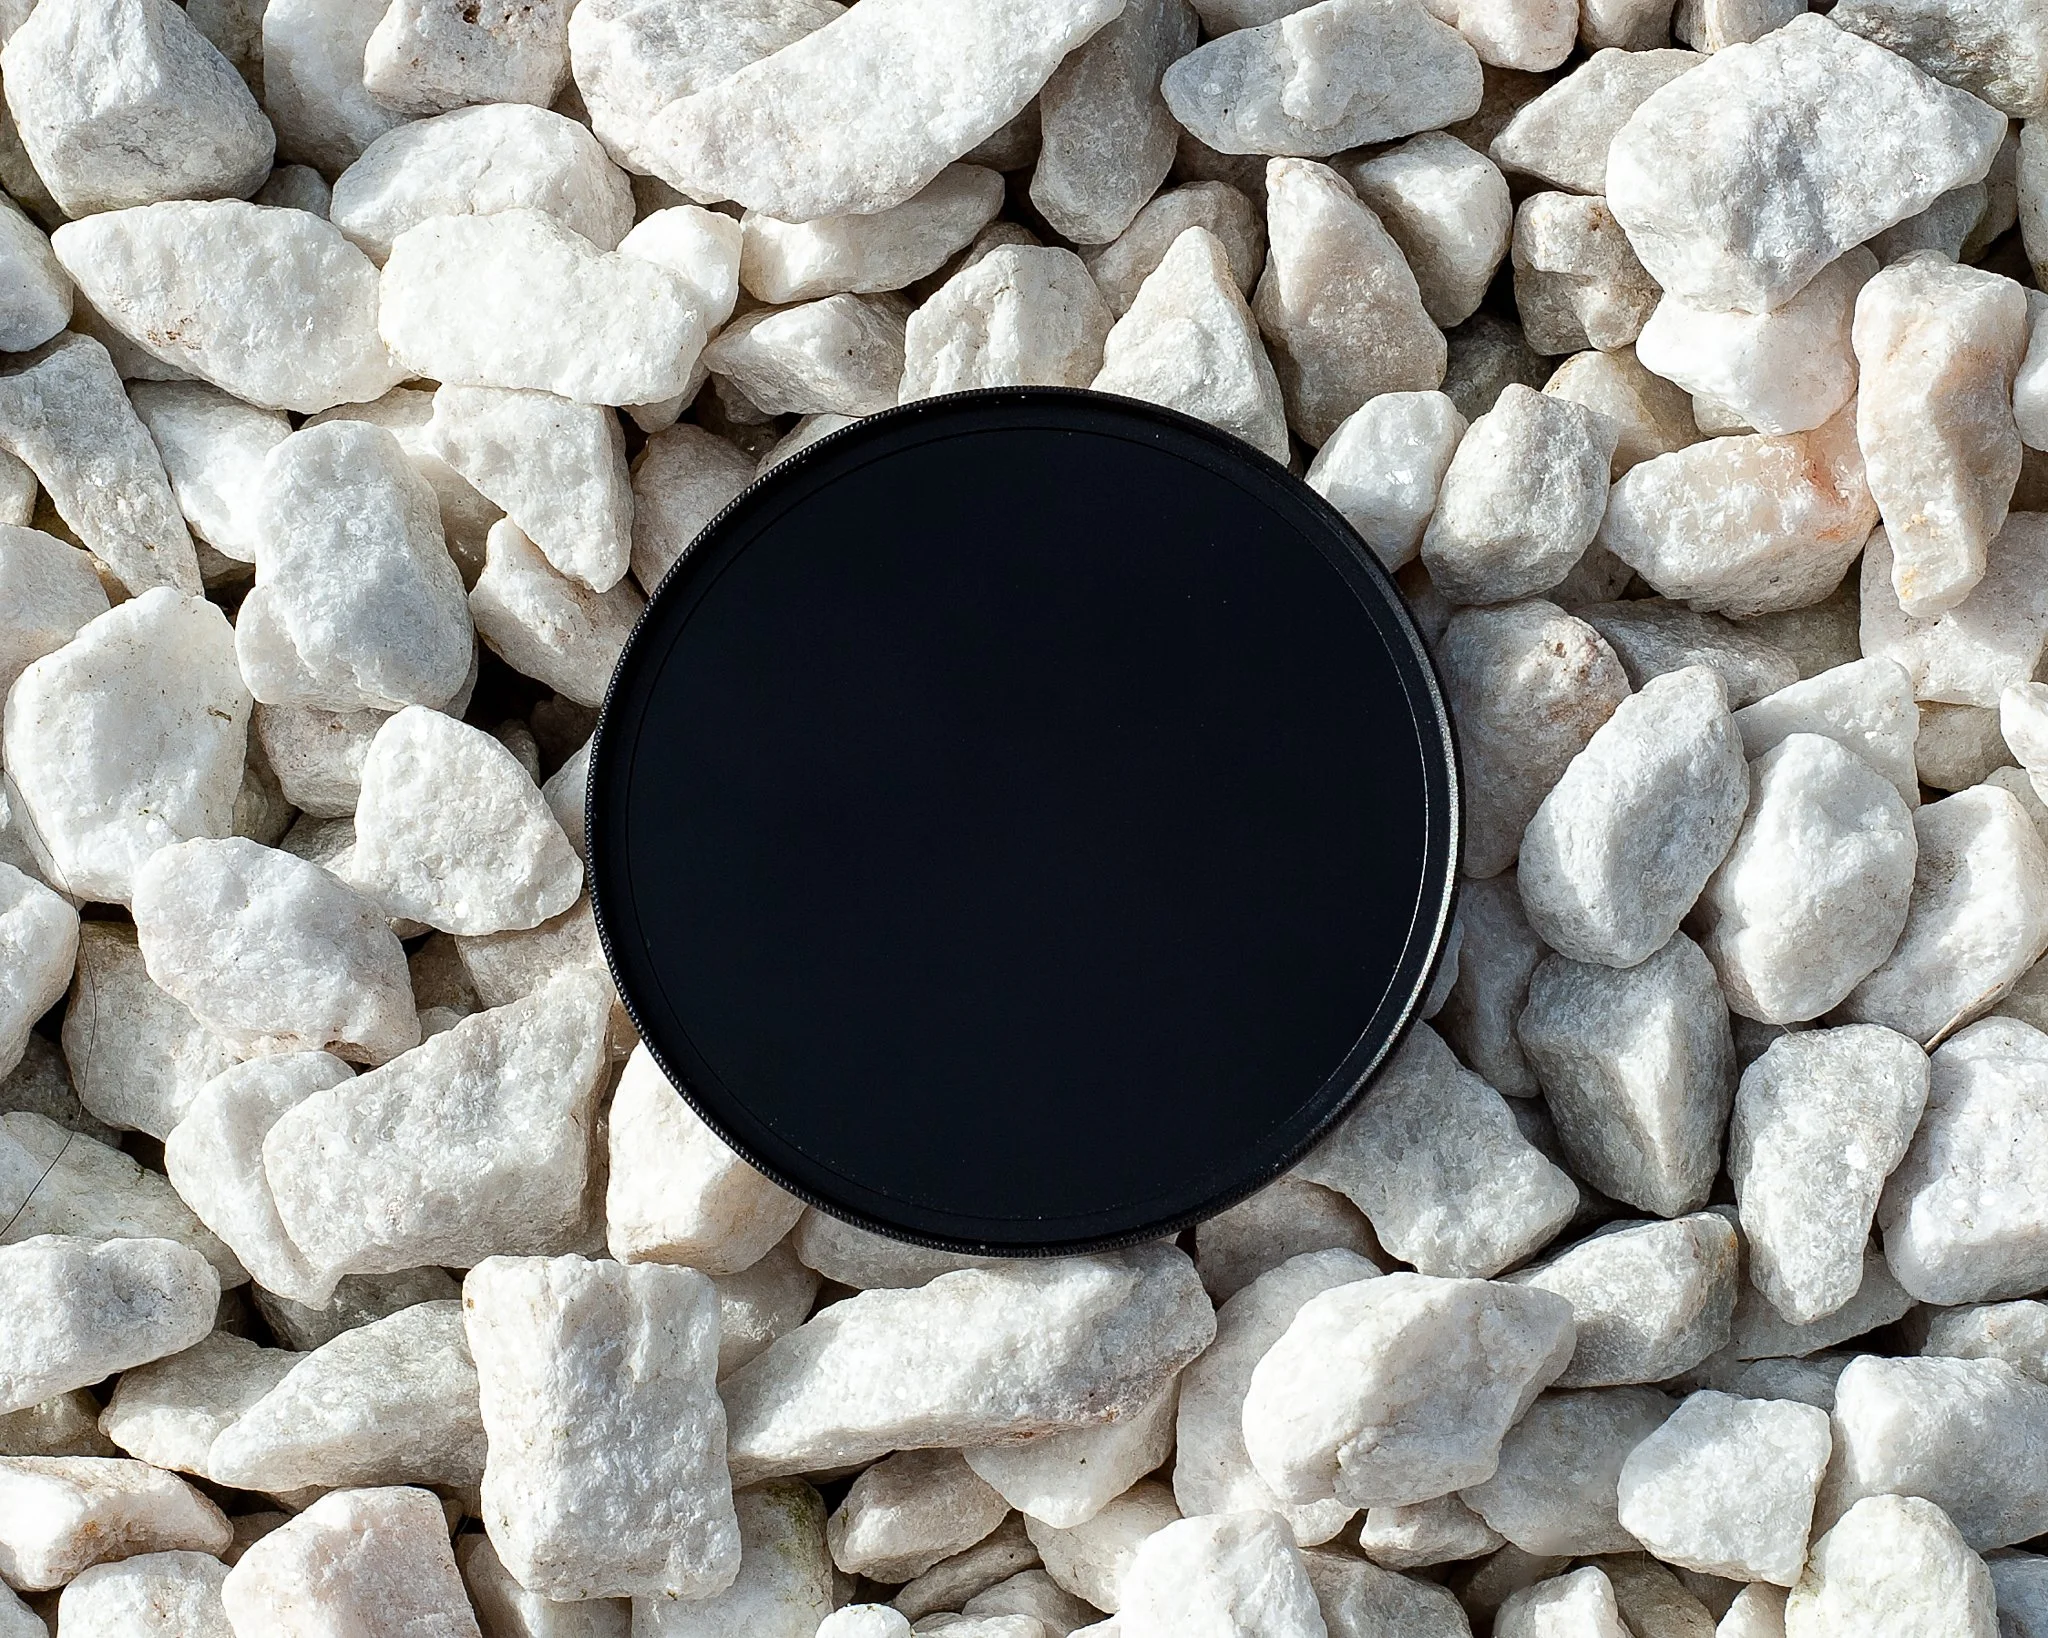
Since I don’t own a sun filter, I opted to go with a 10-stop Neutral Density filter instead. Although with how thick the clouds were on and off it really wasn’t needed for most of it as I was well within the range to get good clean shots using the clouds themselves as a natural ND filter.
77mm 10-stop Neutral Density filter.
***If you have a solar filter then definitely use that as my ND filter did help a little, but was not ideal in protecting from the sun.***
And (btw) there was no “good” settings here due to the vast difference in exposure thanks to the ever changing thick and thin gaps in the clouds, and even more so when the sun was fully out from behind the clouds, a 6 or an 8-stop ND filter or even a Variable ND filter might have been a better option here that way you could set your camera to Aperture priority, EV-/+ to -2 and your ISO to auto and just shoot away hoping for the best. But in all honesty, I was frantically switching settings from A priority to Manual and back and, as well as removing and putting back on the ND filter throughout just to keep up with the vast changes in exposure due to the ever-changing cloud cover.
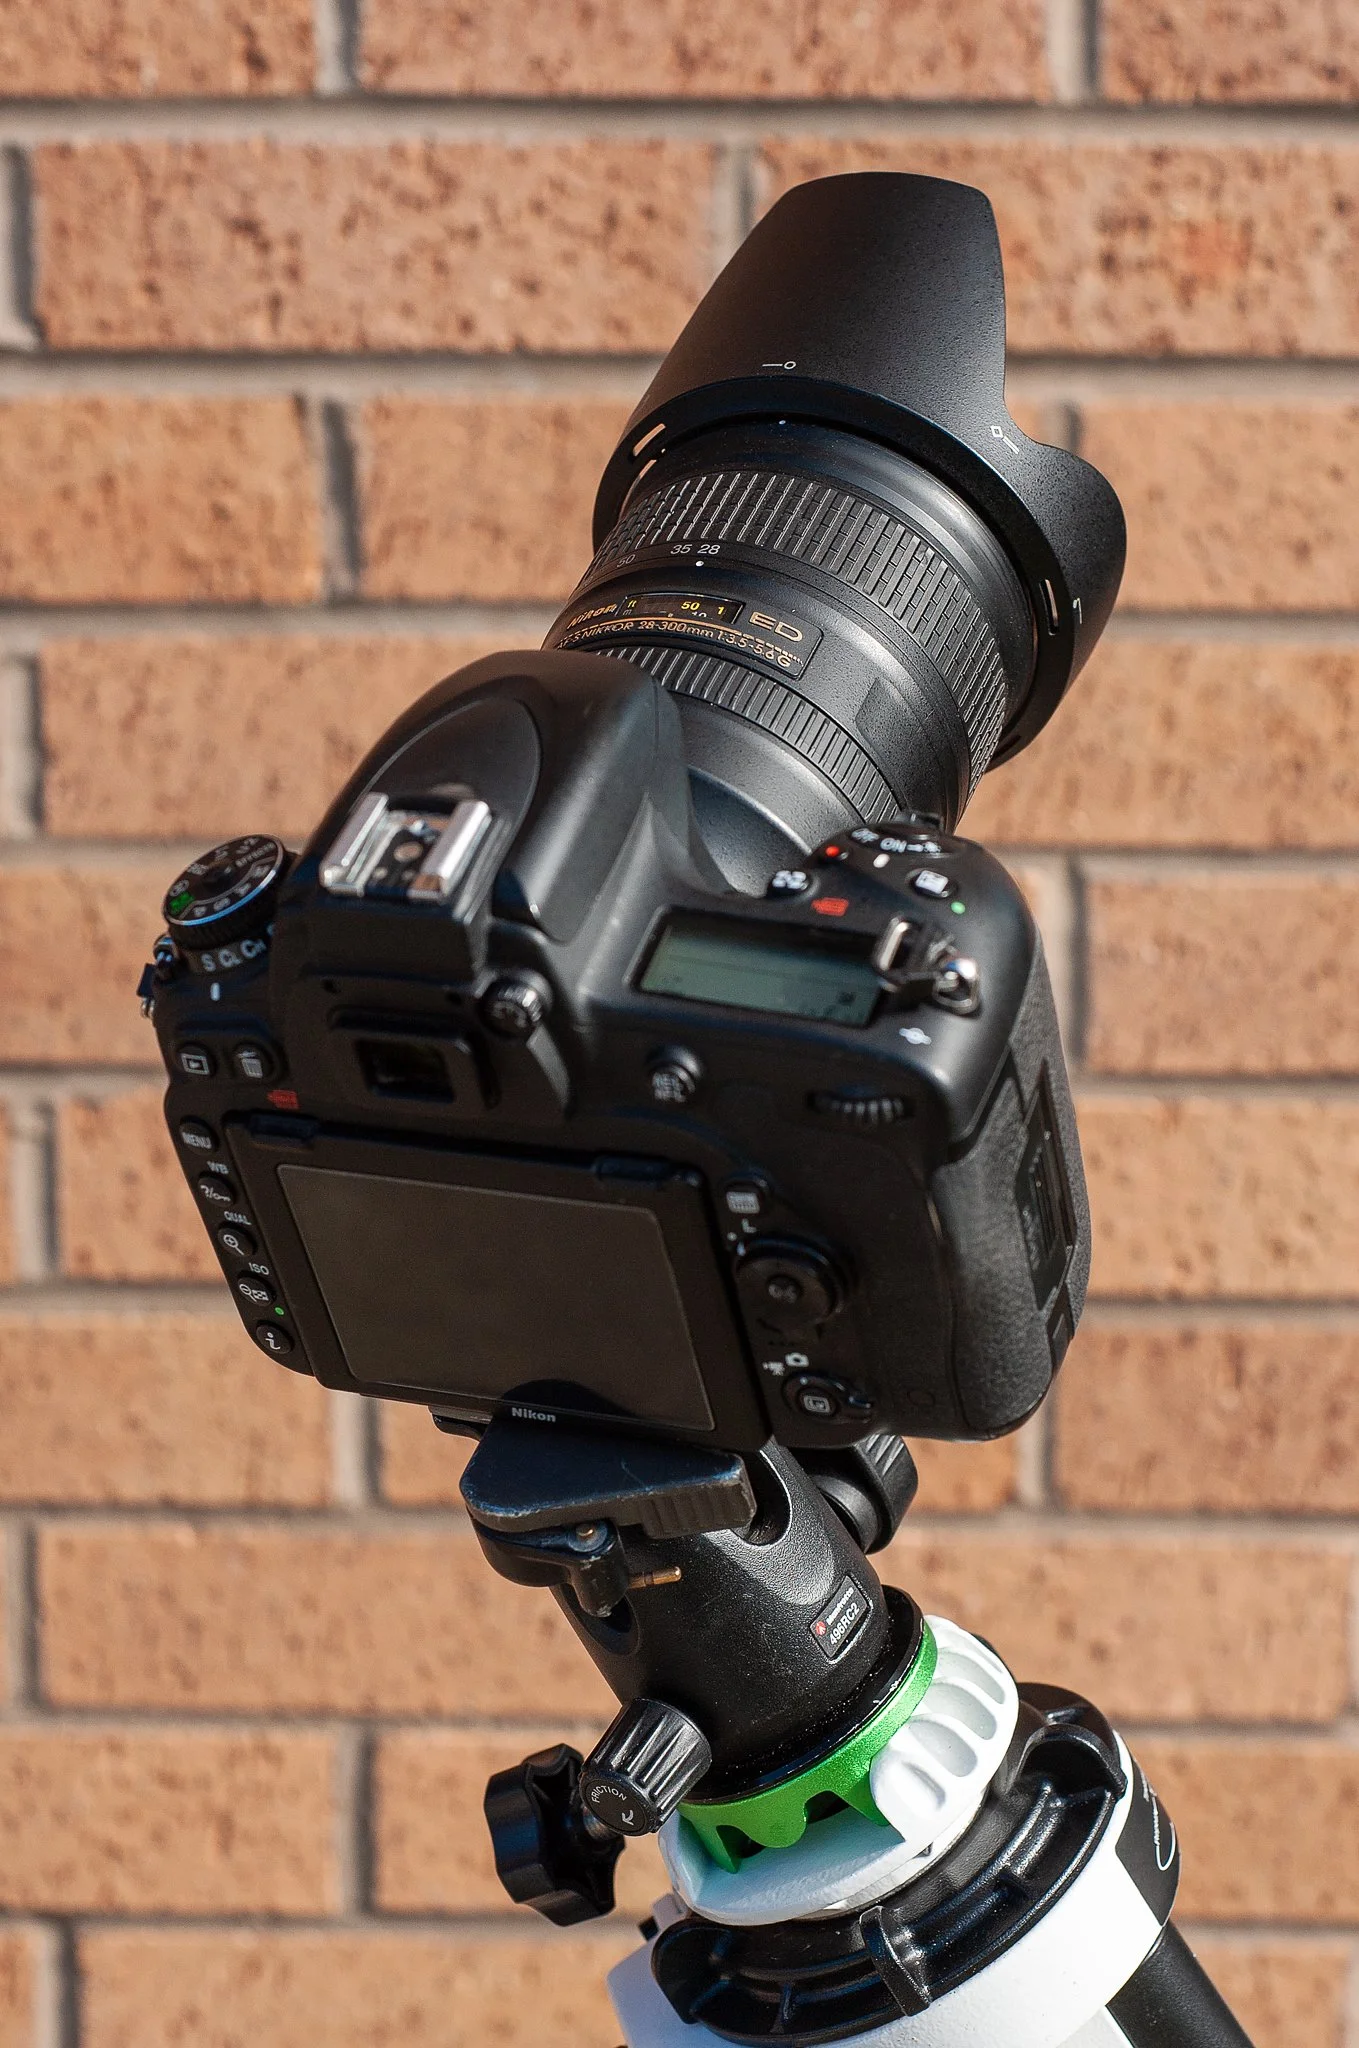
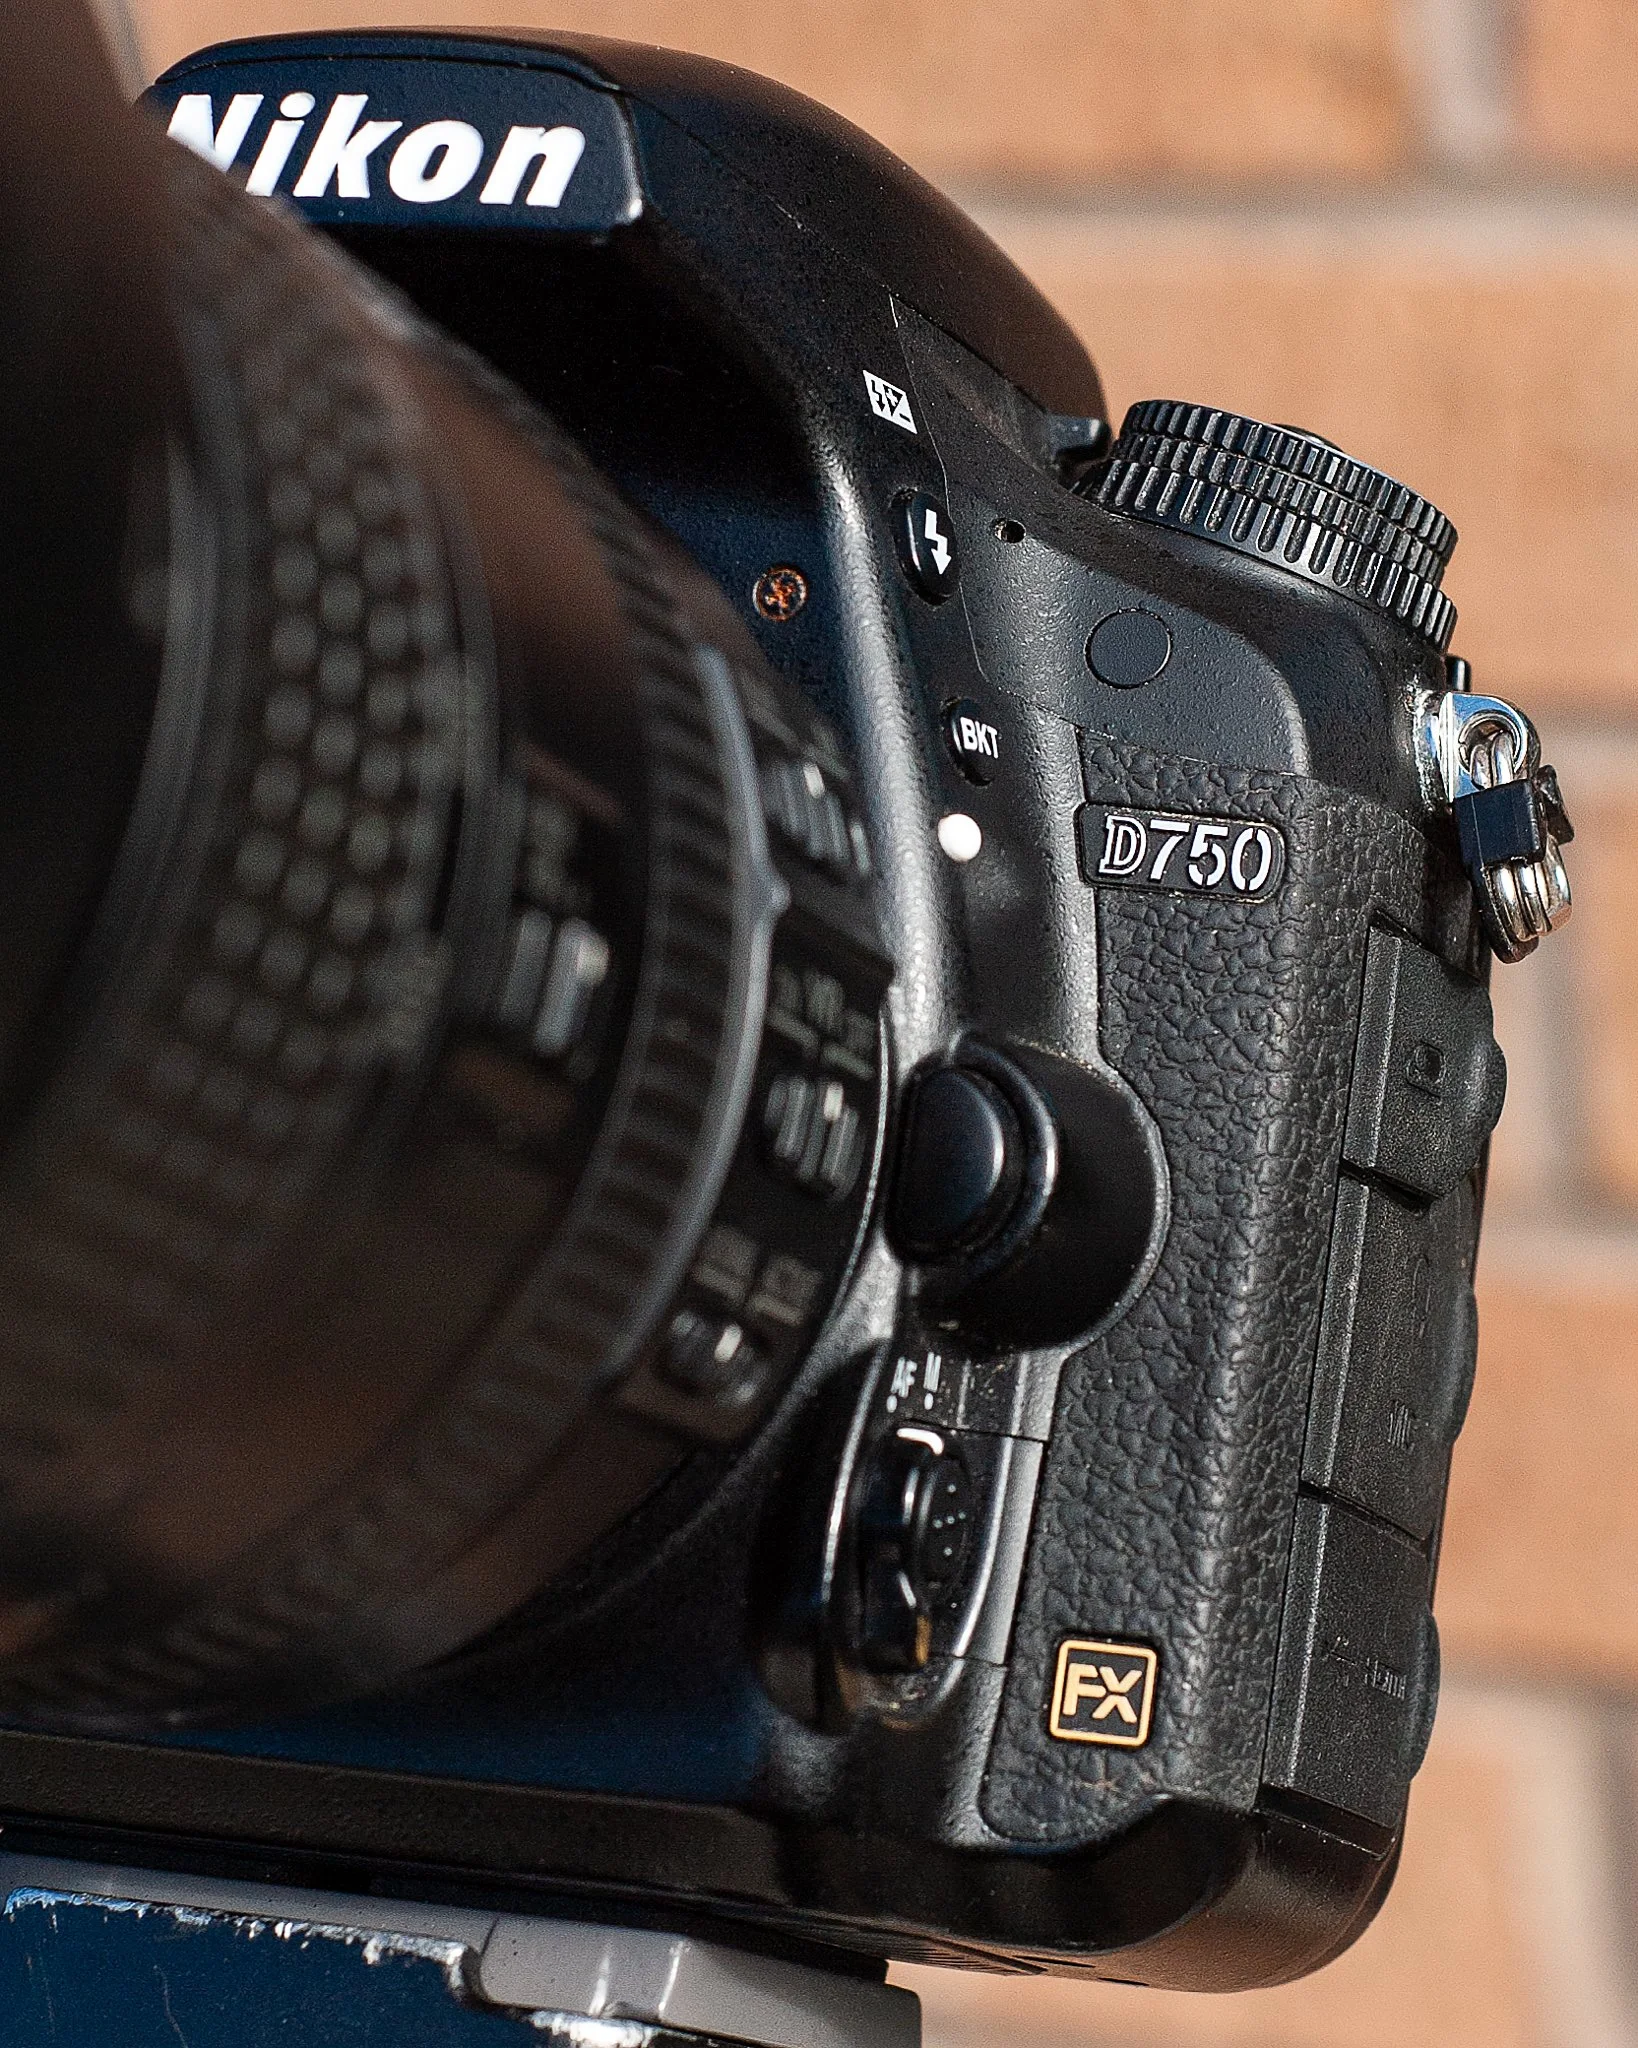
The camera and lens I used was the Nikon D750 Camera body and Nikkor 28-300 f/3.5-5.6
Nikon D750 Camera body and Nikkor 38-300 f/3.5-5.6
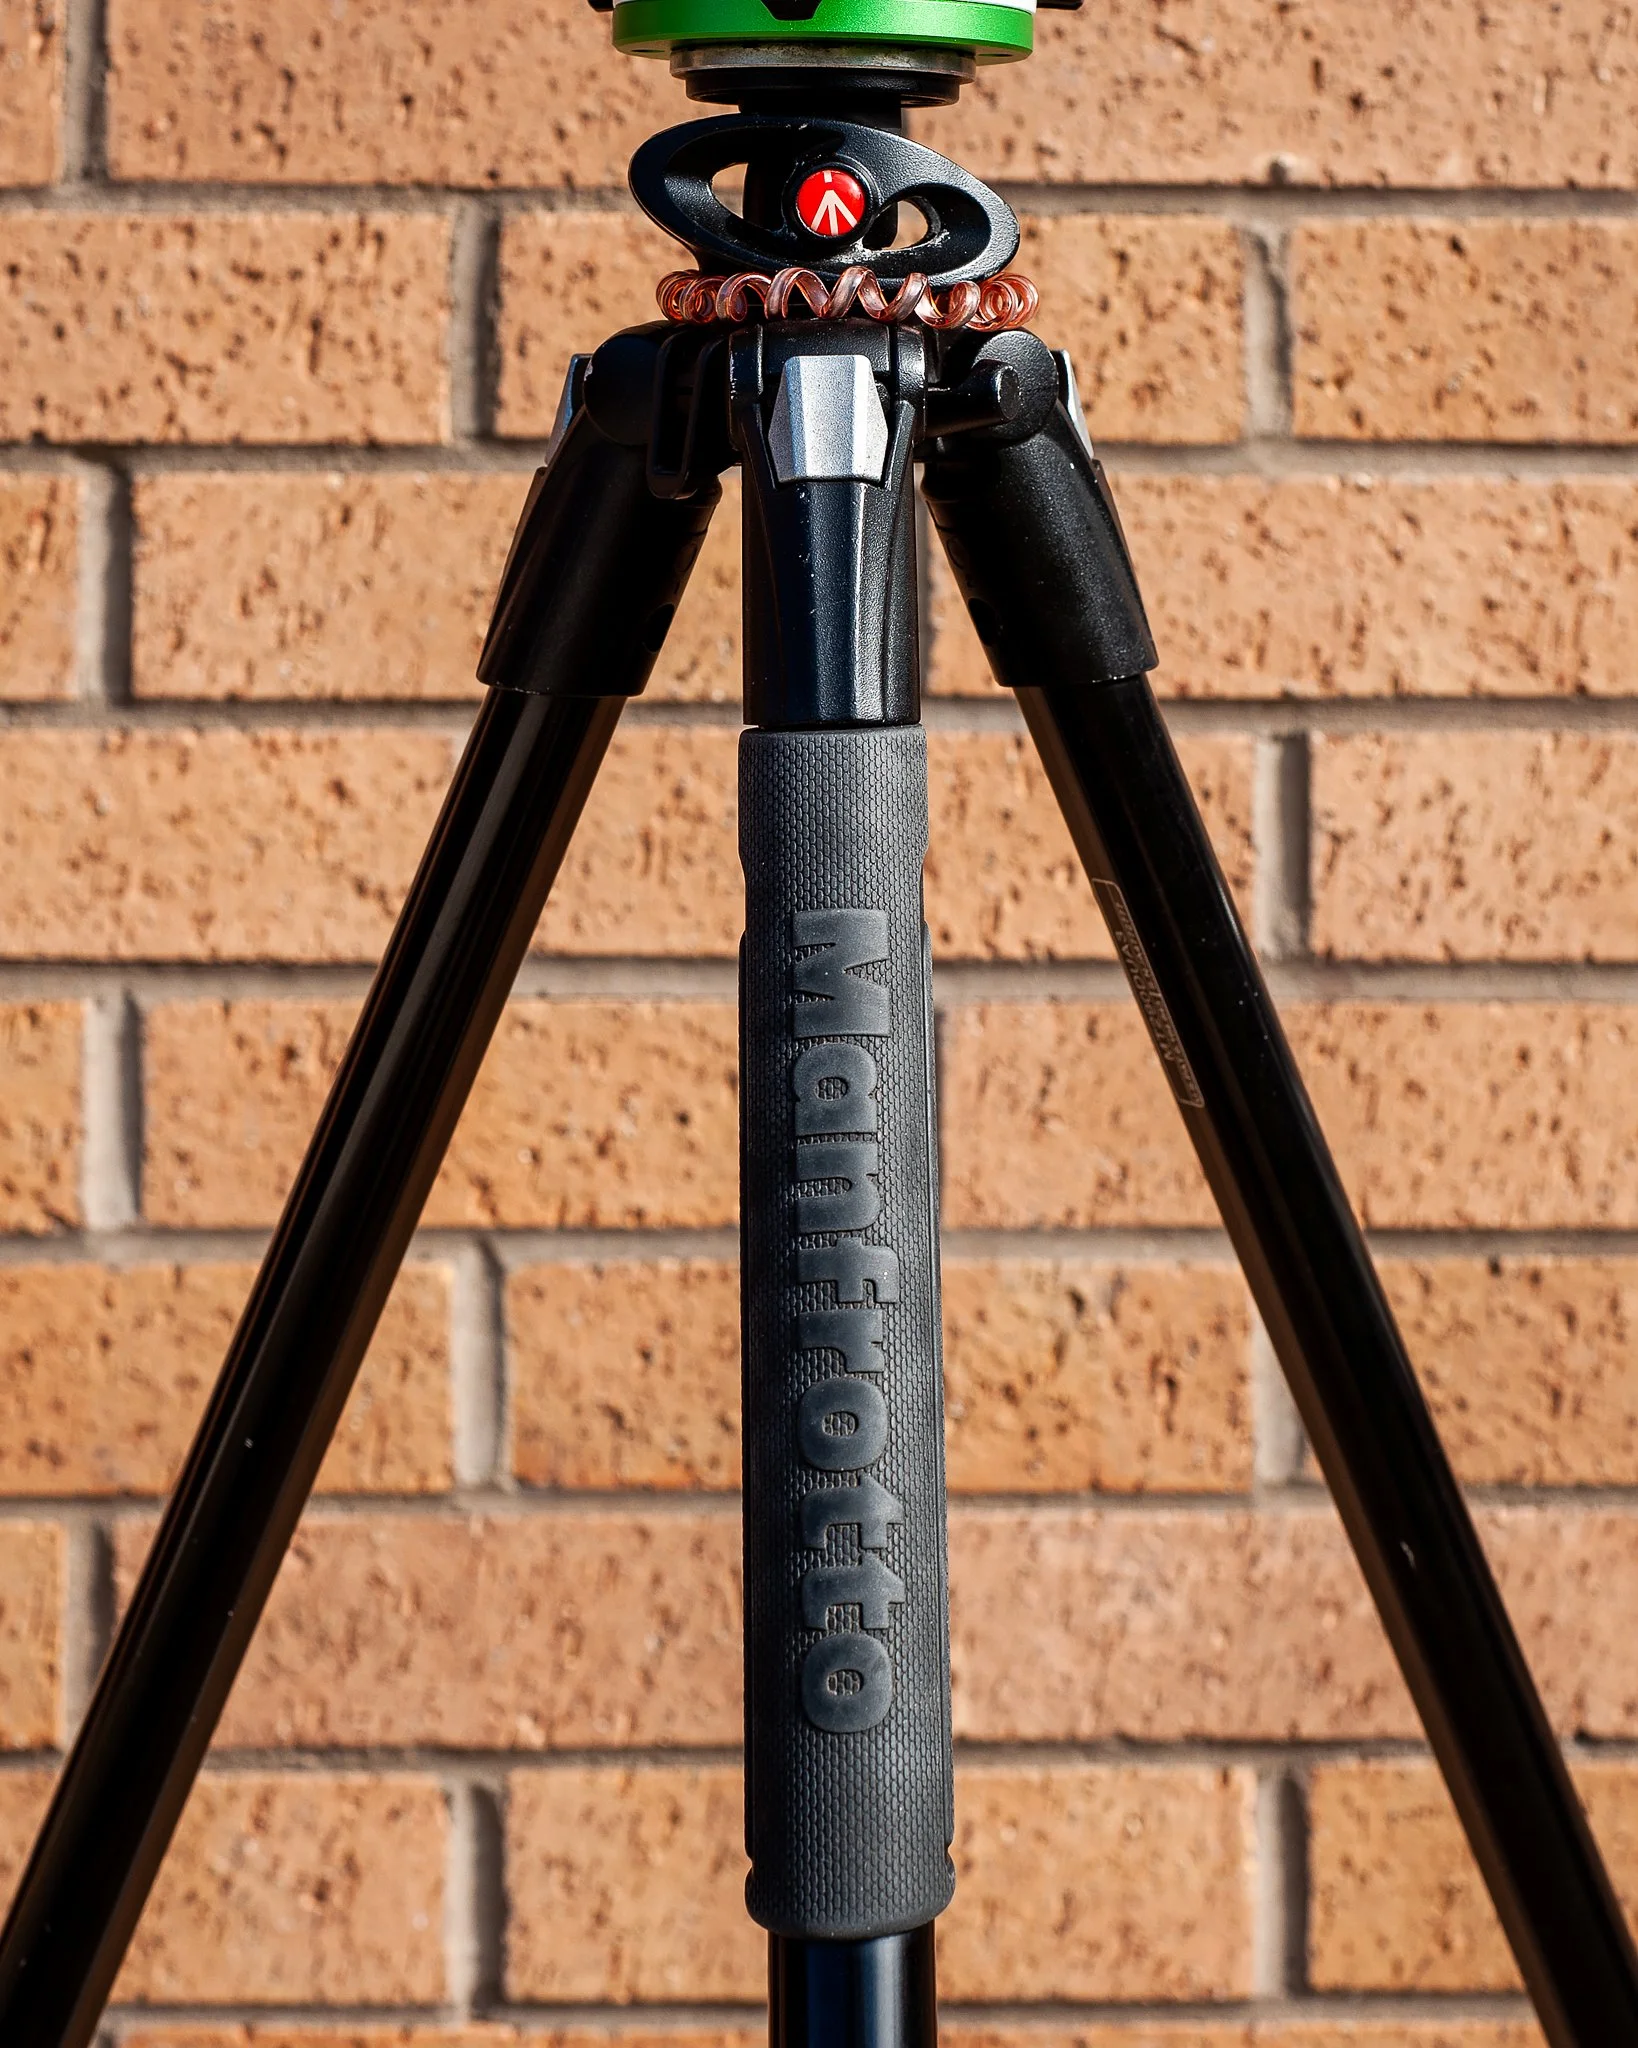
Which only leaves me with the tripod. The current tripod I’m using at the moment is a Manfrotto 290 Dual Tripod with a basic 496CR2 Ball head, and for all this tripod causes me to swear quite a lot lately it’s really not that bad of a tripod, (or wasn’t that bad of a tripod). Lately the legs have started to give way even when fully tightened causing my gear to tip over so this is a serious issue that I’m going to have to rectify soon I think. Because, for all the tripod is a commonly overlooked piece of photography equipment it’s the piece of equipment that you sit your most expensive and most cherished pieces of equipment on top of, so security and stability are paramount when giving your gear a base to sit on. If you can, get the strongest and most durable tripod that your budget will allow. you will thank yourself for it I’m sure.
Manfrotto 290 Dual with 469CR2 Ball Head
So, with that all said and done, I managed to get just under 700 photos in total of the partial eclipse through some lucky gaps in the clouds to choose from
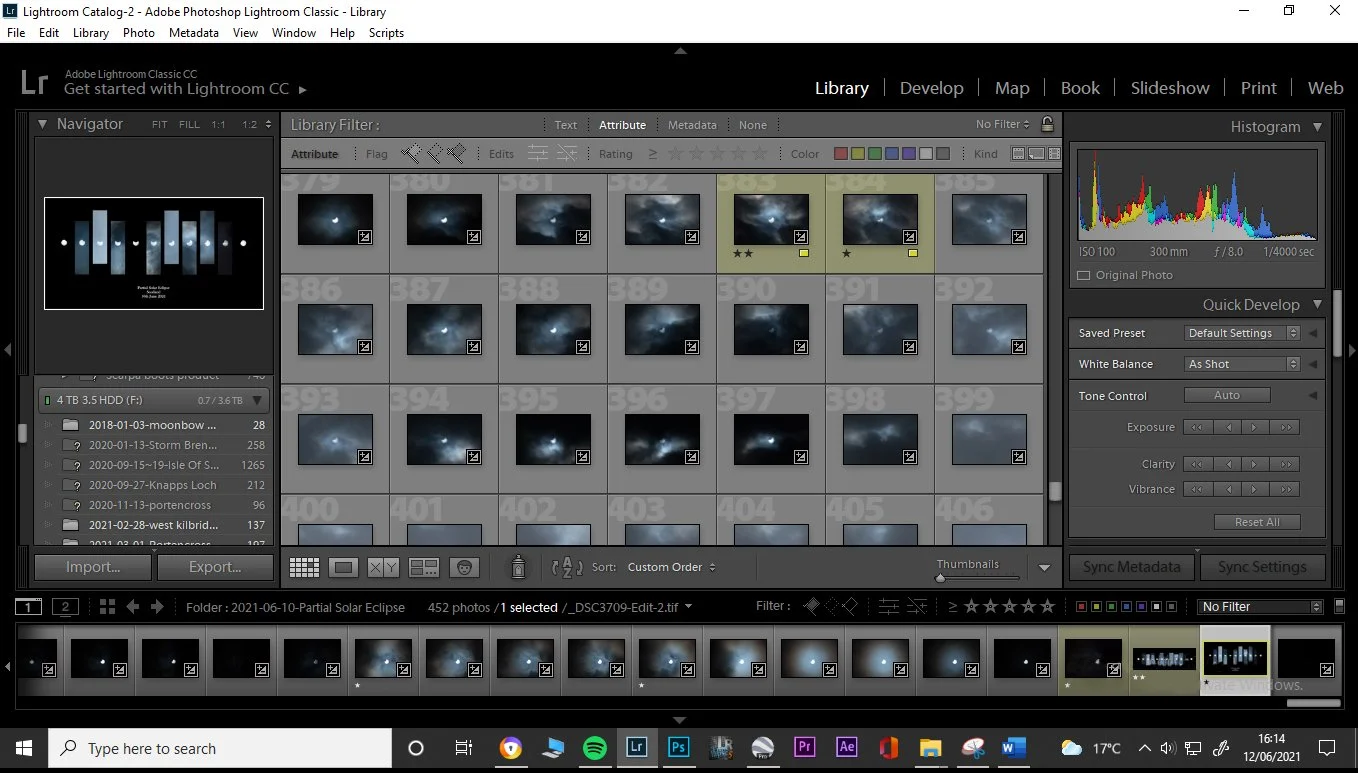
Lightroom Catalogue of all of the images from the eclipse, giving all of the first selections a 1 star, then going over them a second time and giving the best of those a 2 star then finally colour labels for the ones I intended to use for the sequence before exporting them onto Photoshop to make the sequence.
After selecting the ones I liked, giving a star rating and colour label to the ones I wanted to use for the sequence I exported them all over to Photoshop to put the sequence together, Here is the finished sequence showing the transit of the moon past the sun throughout the event as well as some of my favourite shots from that morning.
June 10th Partial Solar Eclipse, the transit of the moon past the sun throughout the event as well as some of my favourite shots from that morning.
I hope any of this information was of any use to anyone thinking about setting up for the next solar eclipse, wither that be partial, annular or total eclipse and I hope if nothing else it can give someone a little bit of inspiration to not give in just because it looks like nothing is going to happen.
Thank you so much for reading and all the very best.
Best Regards.
Sylvan
Facebook - https://www.facebook.com/dynamicscotlandphotography
Instagram - https://www.instagram.com/dynamic_scotland_photography/
Twitter - https://twitter.com/DynamicScotland
Website - www.dynamicscotlandphotography.com
Or e-mail me on dynamicscotlandphotography@yahoo.com
Here are some links to the equipment used in this tutorial.
Sky Watcher - Star Adventurer pro: https://amzn.to/3TXhJXH
Pixel TW-283 Shutter Release: https://amzn.to/3OkIofW
Manfrotto 290 dual tipod: https://amzn.to/3Olrs98
Nikon D750 body: https://amzn.to/3EreuCe
Nikon AF-S FX NIKKOR 28-300mm f/3.5-5.6G ED: https://amzn.to/3XvDKQL


